
Like most people out there, I absolutely love scented candles. I find them relaxing and calming, especially when I’m in the tub for a warm bath and/or reading a good book.
Unlike most people out there, I love making my own scented candles. And today I am here to tell you how to make your own as well, using wax scraps and crayons that you no longer use. You will love them!
The idea of some DIY scented candles came to me while I was sharpening my son’s wax crayons. Some were getting so short that I was thinking I’ll have to throw them away. But why throw something away when you can recycle instead?
So I started gathering all the fallen ships from the wax crayons, as well as the ones that were too small to use. I added them to a mix of candle butts (more or less) that I had in the house “for emergencies” that fortunately never came and I decided to turn them all into scented candles.
I ended up “borrowing” a bunch of black was crayons simply because my son has a ton of those (he rarely uses them). The more wax, the bigger the candle!
Be careful if you do it like I did though: even though I thought I had enough color for a nice mix, the black crayons simply turned the end product into a black-brown-muddy color that wasn’t extremely nice to the eye.

It would’ve made sense if I had some chocolate-scented oils, but I didn’t. Lesson learned for the next time though!
But with all these in mind, let’s just see how you can make your own scented candles from wax scraps and wax crayons at home. You can use all sorts of scents and oils as long as you follow the simple steps below.
First of all, here is what you need for your candles:
- Wax scraps
- Wax crayons (for adding color mainly)
- Essential oils, around 30 drops to remove the old scent of the wax
- A glass jar or cup that you can use as a candle container too, or get some prettier candle containers if you plan this ahead
- Candle wick tied to a button, or even a rock (to keep it straight)
You will also need a pair of scissors, a microwave oven for melting the mixture and something to mix the melted wax – like a barbecue stick, chop sticks or any type of old kitchen utensil you no longer need (I used an old butter knife, for example).
Here’s how to make your own scented candles from scraps:
I cleaned all the wax scraps from the candles I had, removing the wicks. Also, remove any paper foil around the crayons.
Put all the resulting mess in a glass cup and roast them nicely in the microwave oven for 2 minutes at high power. (Depending on the quantity you have, you might need more). Here’s what I worked with:

Once the melting process is over and you have a smooth paste in your jar, start mixing it around for around 30 seconds using the stick for poking holes later or, even better, an old kitchen utensil you no longer need.
I personally used an old butter knife that helped me feel that there were still some scraps left that weren’t completely melted. So I put it back into the oven for 1.5 minutes more. Repeat until you no longer have scraps left intact in the mixture.
I had to go through this process three times. The final time was when I added my 30 drops of essential oils. You can choose any combination you enjoy. I personally mixed apple and cinnamon for a Christmasy scent.
Make sure to mix the essential oils well in order to have them spread out evenly.
If you’re not going to make your candle in the container you have melted the wax in, now it’s the time to pour it over in the glass/jar/future candle.

As soon as you dropped the melted wax into the candle container, drop the wick that you tied to a button or rock or anything to one end, and tied to your stick or butter knife to the other.
Make sure the wick’s button touches the bottom and it’s not held above, floating.

As you can see, I also sprinkled some extra, colorful wax crayon chips to give my dull paste a bit of color. I repeat: don’t use too many black crayons like I did!
Once you’ve done all these, you must let your candle sit for a few hours until it hardens completely. When that happens, cut the wick and light it up!
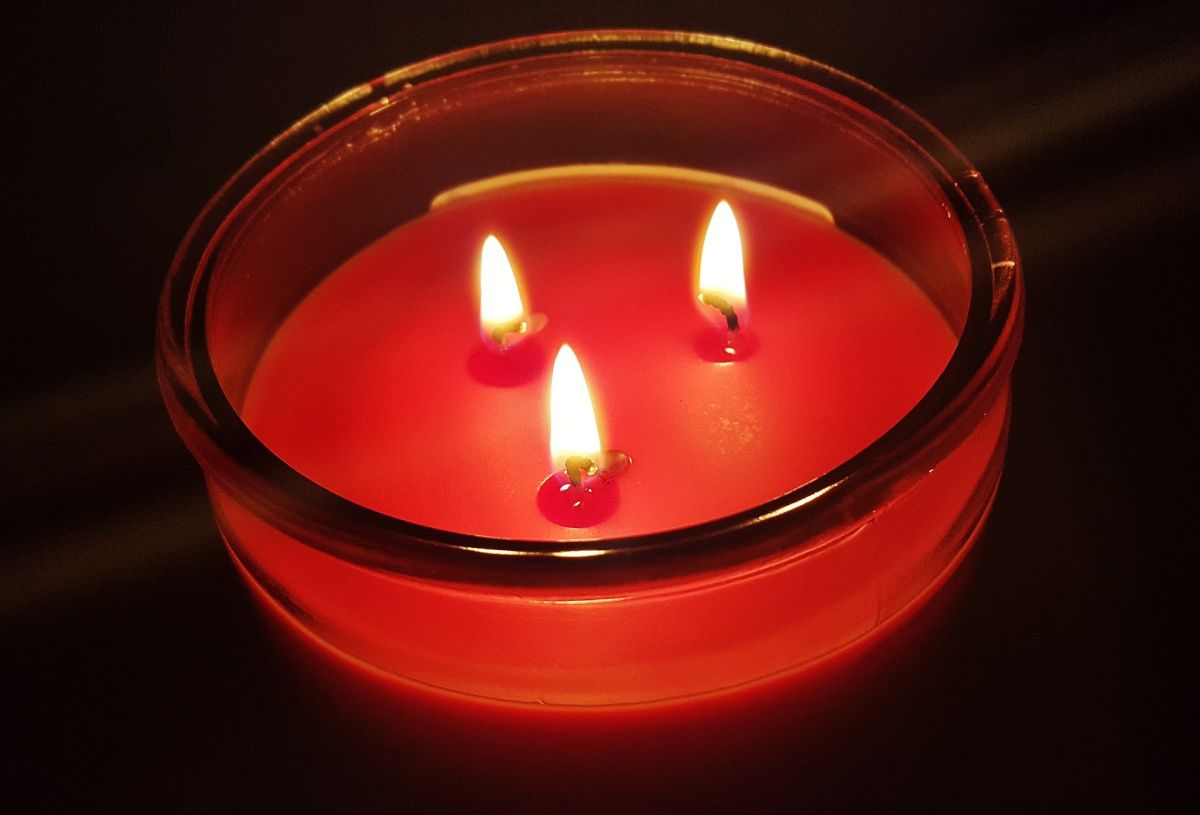
Your DIY scented candle is ready!
Final thoughts
Despite the ugly look of my first scented candle, I will continue and hopefully improve my technique.
For my next batch, I am already planning to make my own scented candles using cookie cutters for various funky shapes.
I am also considering trying to make some in colored tequila glasses. I will have to buy those first then use and reuse as I see fit. The possibilities are endless as long as you have enough wax on hand.
I also recommend using only regular wax as the crayon one could have some potentially unhealthy chemicals in its composition – things you don’t want to breathe in. So only use old candles or wax when making your own, to keep things safe!
I hope you enjoyed my DIY article for these homemade scented candles. They’re really easy to make and, even though buying some is a lot easier, the satisfaction of making your own is priceless.